It might be a childhood photo becoming a current portrait, a puppy growing into an older dog, a family changing across the years, a building before and after renovation, a room makeover, or a landscape moving through the seasons.
The idea is simple: take photos from different points in time and turn them into a short video. But the way you join those photos together makes a huge difference.
A standard slideshow can show one photo after another. A video editor can add a fade, swipe, or zoom effect. But if you want the change to feel smooth and alive, an AI then-and-now video can give you a very different result.
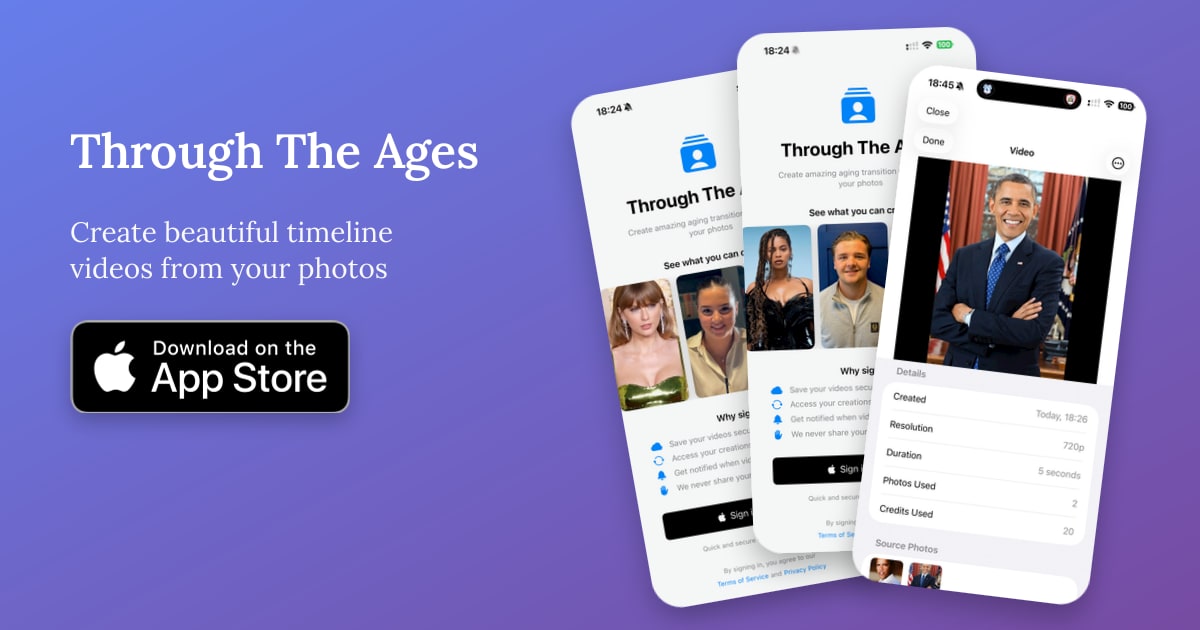
That is why we built Through The Ages: to help you see yourself, your family, and your projects come to life over time. Instead of simply fading from one image to the next, Through The Ages uses generative AI to create an animated transition between your photos.
The quick answer
To make a then-and-now video from photos:
- Choose 2 to 5 photos showing the same person, pet, family, place, project, or scene at different points in time.
- Put the photos in chronological order.
- Use clear, high-quality images where the subject is easy to see.
- Upload the photos to a then-and-now video maker such as Through The Ages.
- Let the AI create a smooth animated transition between the images.
- Review the result, then download or share the finished video.
For the best result, use photos with a similar pose, clear face or subject, matching camera angle, and good image quality.
What is a then-and-now video?
A then-and-now video is a short video that shows how something has changed over time. The most familiar version is the classic before-and-after format, but a then-and-now video can feel more personal because it shows the story of the time between the photos.
Common examples include:
- A baby photo transitioning into an adult photo
- A child growing up year by year
- A couple through the course of a relationship
- A parent or grandparent across different life stages
- A person and their pet over time
- A house before and after renovation
- A garden changing through the seasons
- A historic building compared with the present day
That is what makes these videos so shareable. They work well for birthdays, anniversaries, graduations, memorials, family memories, renovation reveals, personal milestones, and social media posts.
Why use AI instead of a normal slideshow?
You can make a then-and-now video in a normal video editor. You can place one photo after another, add music, and use a fade transition. That works if all you want is a simple comparison.
But a fade does not really show the change happening. It hides one image while revealing the next.
AI transitions are different. Instead of simply fading between photos, generative AI can create movement between the images. The result can feel more like watching time pass, rather than watching two static photos swap places.
That is especially powerful for people-focused videos. When the photos line up well, a childhood image can smoothly transition into a teenage photo, then into an adult photo.
The App Store listing describes Through The Ages as an AI then-and-now video maker for age progression clips, family timelines, pet glow-ups, and before-and-after transformations. It also says users can pick photos, let AI build the transitions, and share the finished video anywhere.1
What kinds of photos work best?
In our experience, single-person images tend to produce the best results. A single person gives the AI a clear subject to follow, especially when the face, pose, and camera angle are reasonably consistent.
The best photos usually have:
- A clear face or subject
- A similar pose
- A similar camera angle
- Good lighting
- Good image quality
- A subject that is not heavily cropped
- A background that is not too distracting
The photos do not need to be identical. In fact, part of the magic is seeing the change. But the closer the pose and angle are, the smoother and more natural the transition is likely to feel.
How many photos should you use?
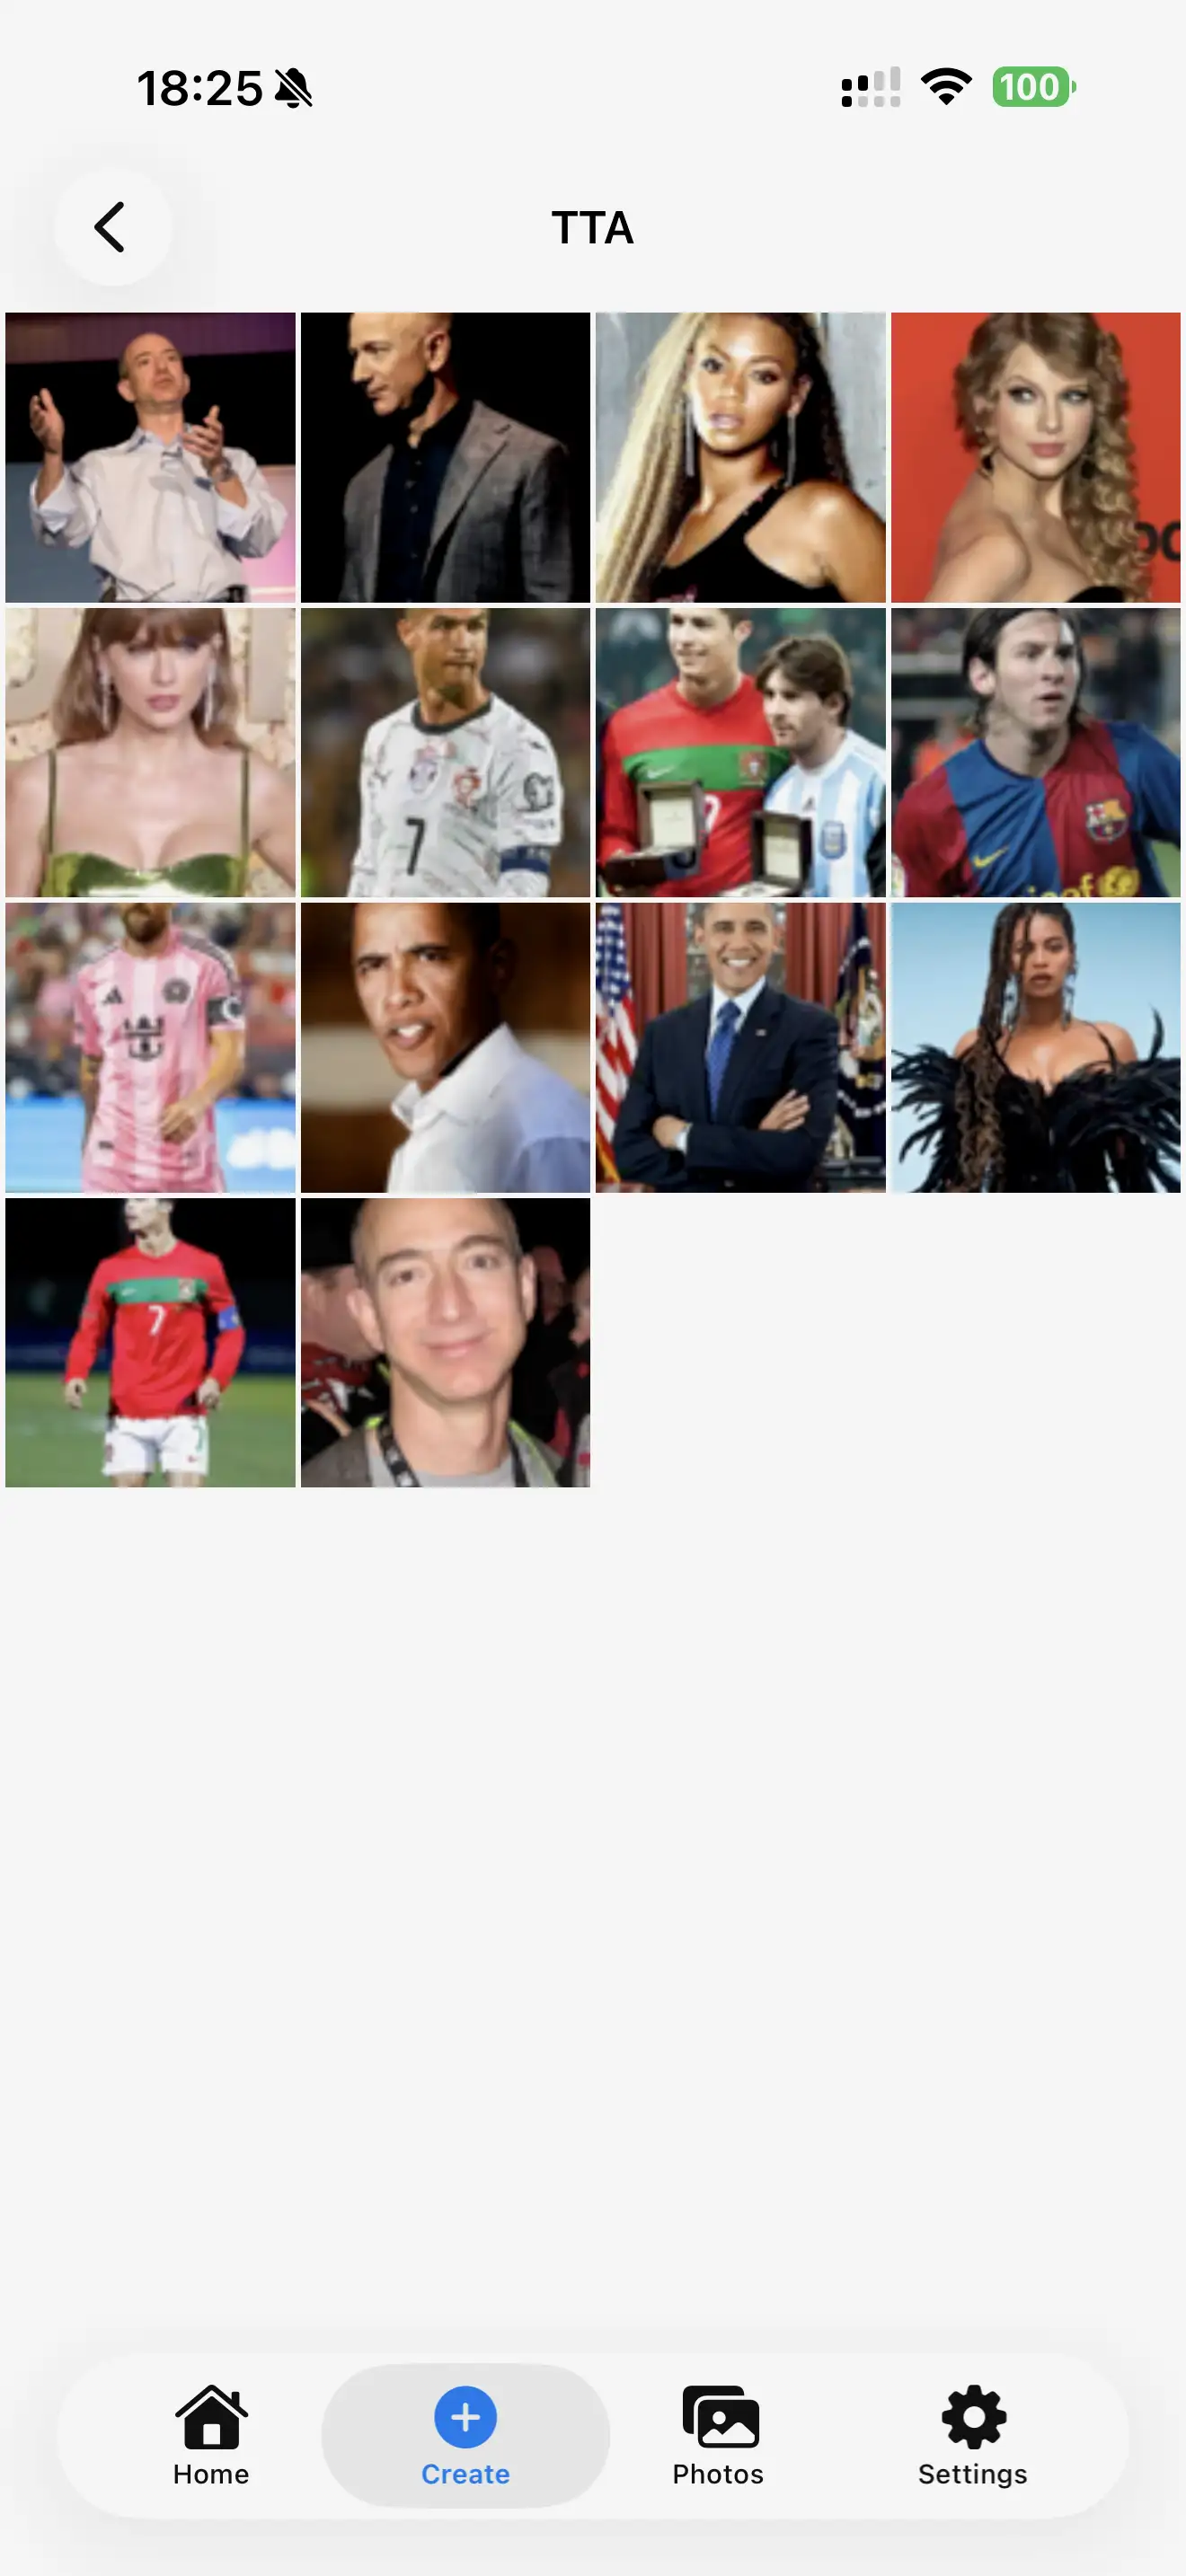
Through The Ages works with 2 to 5 images. Two photos are ideal for a simple then-and-now video, such as child to adult, puppy to older dog, or before renovation to after renovation.
Three to five photos are better when you want to show a fuller journey: baby, child, teenager, adult; start, middle, and end of a renovation; a family across several years; or a garden across different seasons.
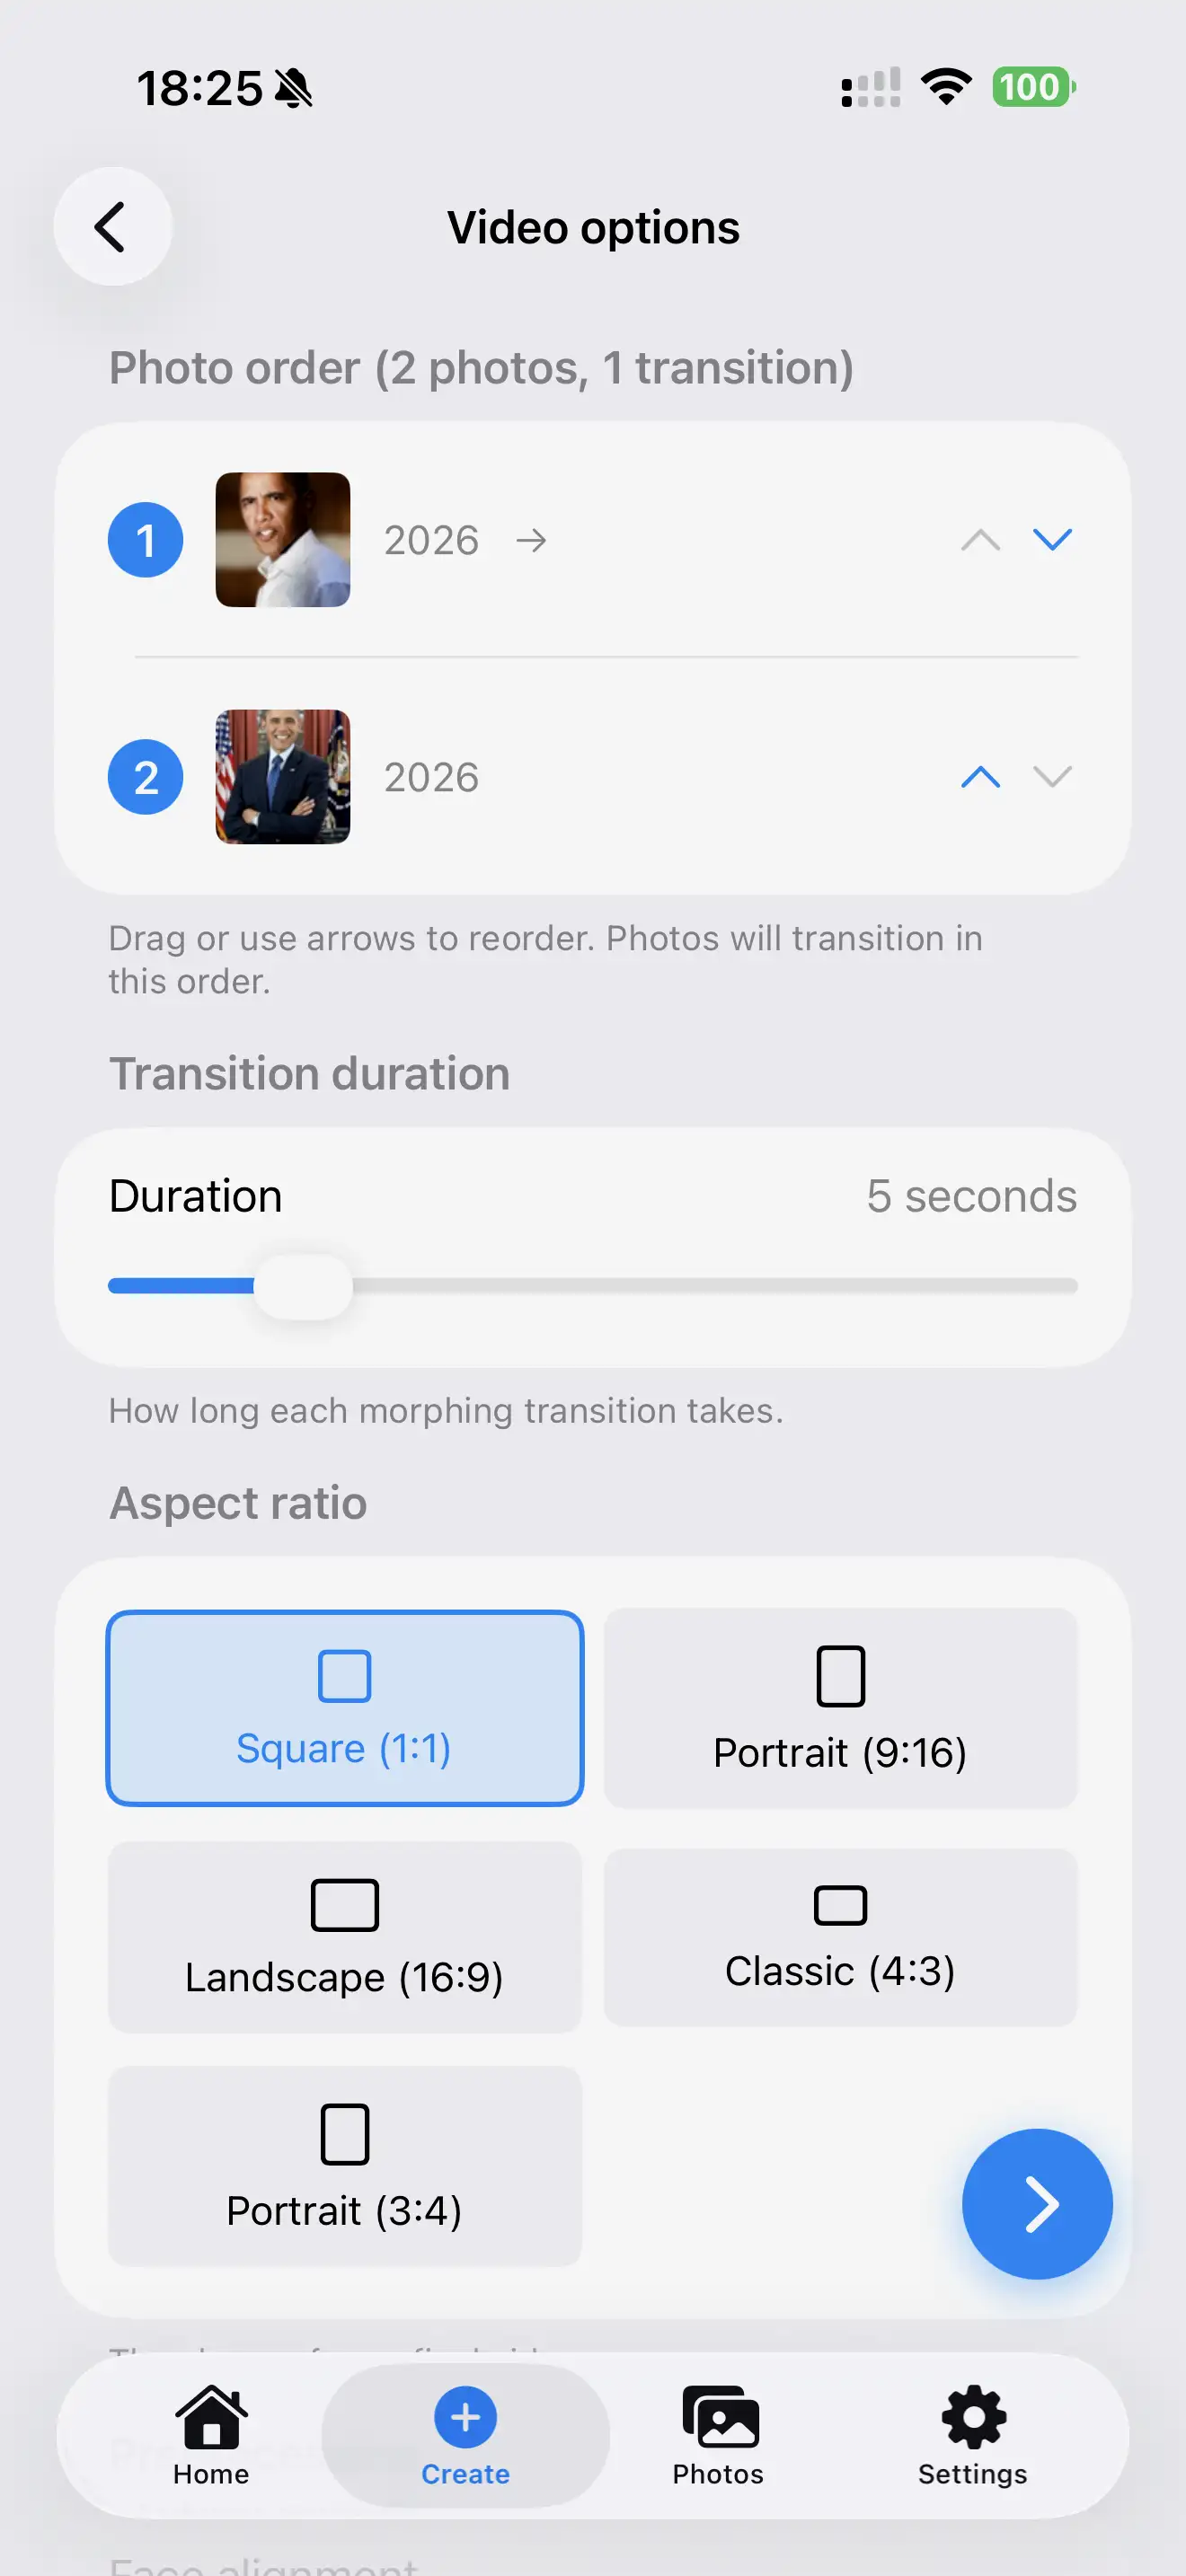
The more photos you add, the more important the ordering becomes. Put the images in the sequence you want the viewer to experience: oldest to newest, start to finish, or season to season.
Step-by-step: how to make a then-and-now video from photos
1. Choose the story you want to tell
Before you choose the photos, decide what kind of change you want to show. Are you showing someone growing up? A home improvement project? A pet over the years? A family through different stages? A landscape changing with the seasons?
A good then-and-now video has a clear subject. The viewer should instantly understand what they are watching change.
2. Pick 2 to 5 strong photos
Choose the best photos you have rather than trying to include every possible image. For a single-person then-and-now video, look for images where the person is facing a similar direction, the face is visible, the photo is not blurry, and the subject is the main focus.
For buildings, interiors, landscapes, or projects, look for images taken from a similar viewpoint. A room makeover will work better if both photos are taken from roughly the same corner.
3. Put the photos in the right order
Then-and-now videos usually work best in chronological order. For a person, that might be baby photo, childhood photo, teenage photo, adult photo. For a renovation, it might be original room, work in progress, finished room.
This matters because the transition should feel like time is moving forward. If the photos are out of order, the result can feel confusing.
4. Upload the photos to Through The Ages
Once you have your images, open Through The Ages and upload the photos you want to use. The website describes the app as transforming photos into video timelines with smooth transitions and captions.2
This is where a purpose-built app helps. You are not trying to manually line up layers, keyframes, masks, or transitions in a general-purpose video editor. The app is built around this specific job: turning photos from different points in time into a short animated timeline.
5. Let the AI create the transition
After you upload your photos, Through The Ages uses generative AI to create an animated transition based on the subjects in the images.
This is the part that separates an AI then-and-now video from a basic slideshow. Instead of simply fading from one photo to the next, the AI generates motion between the images.
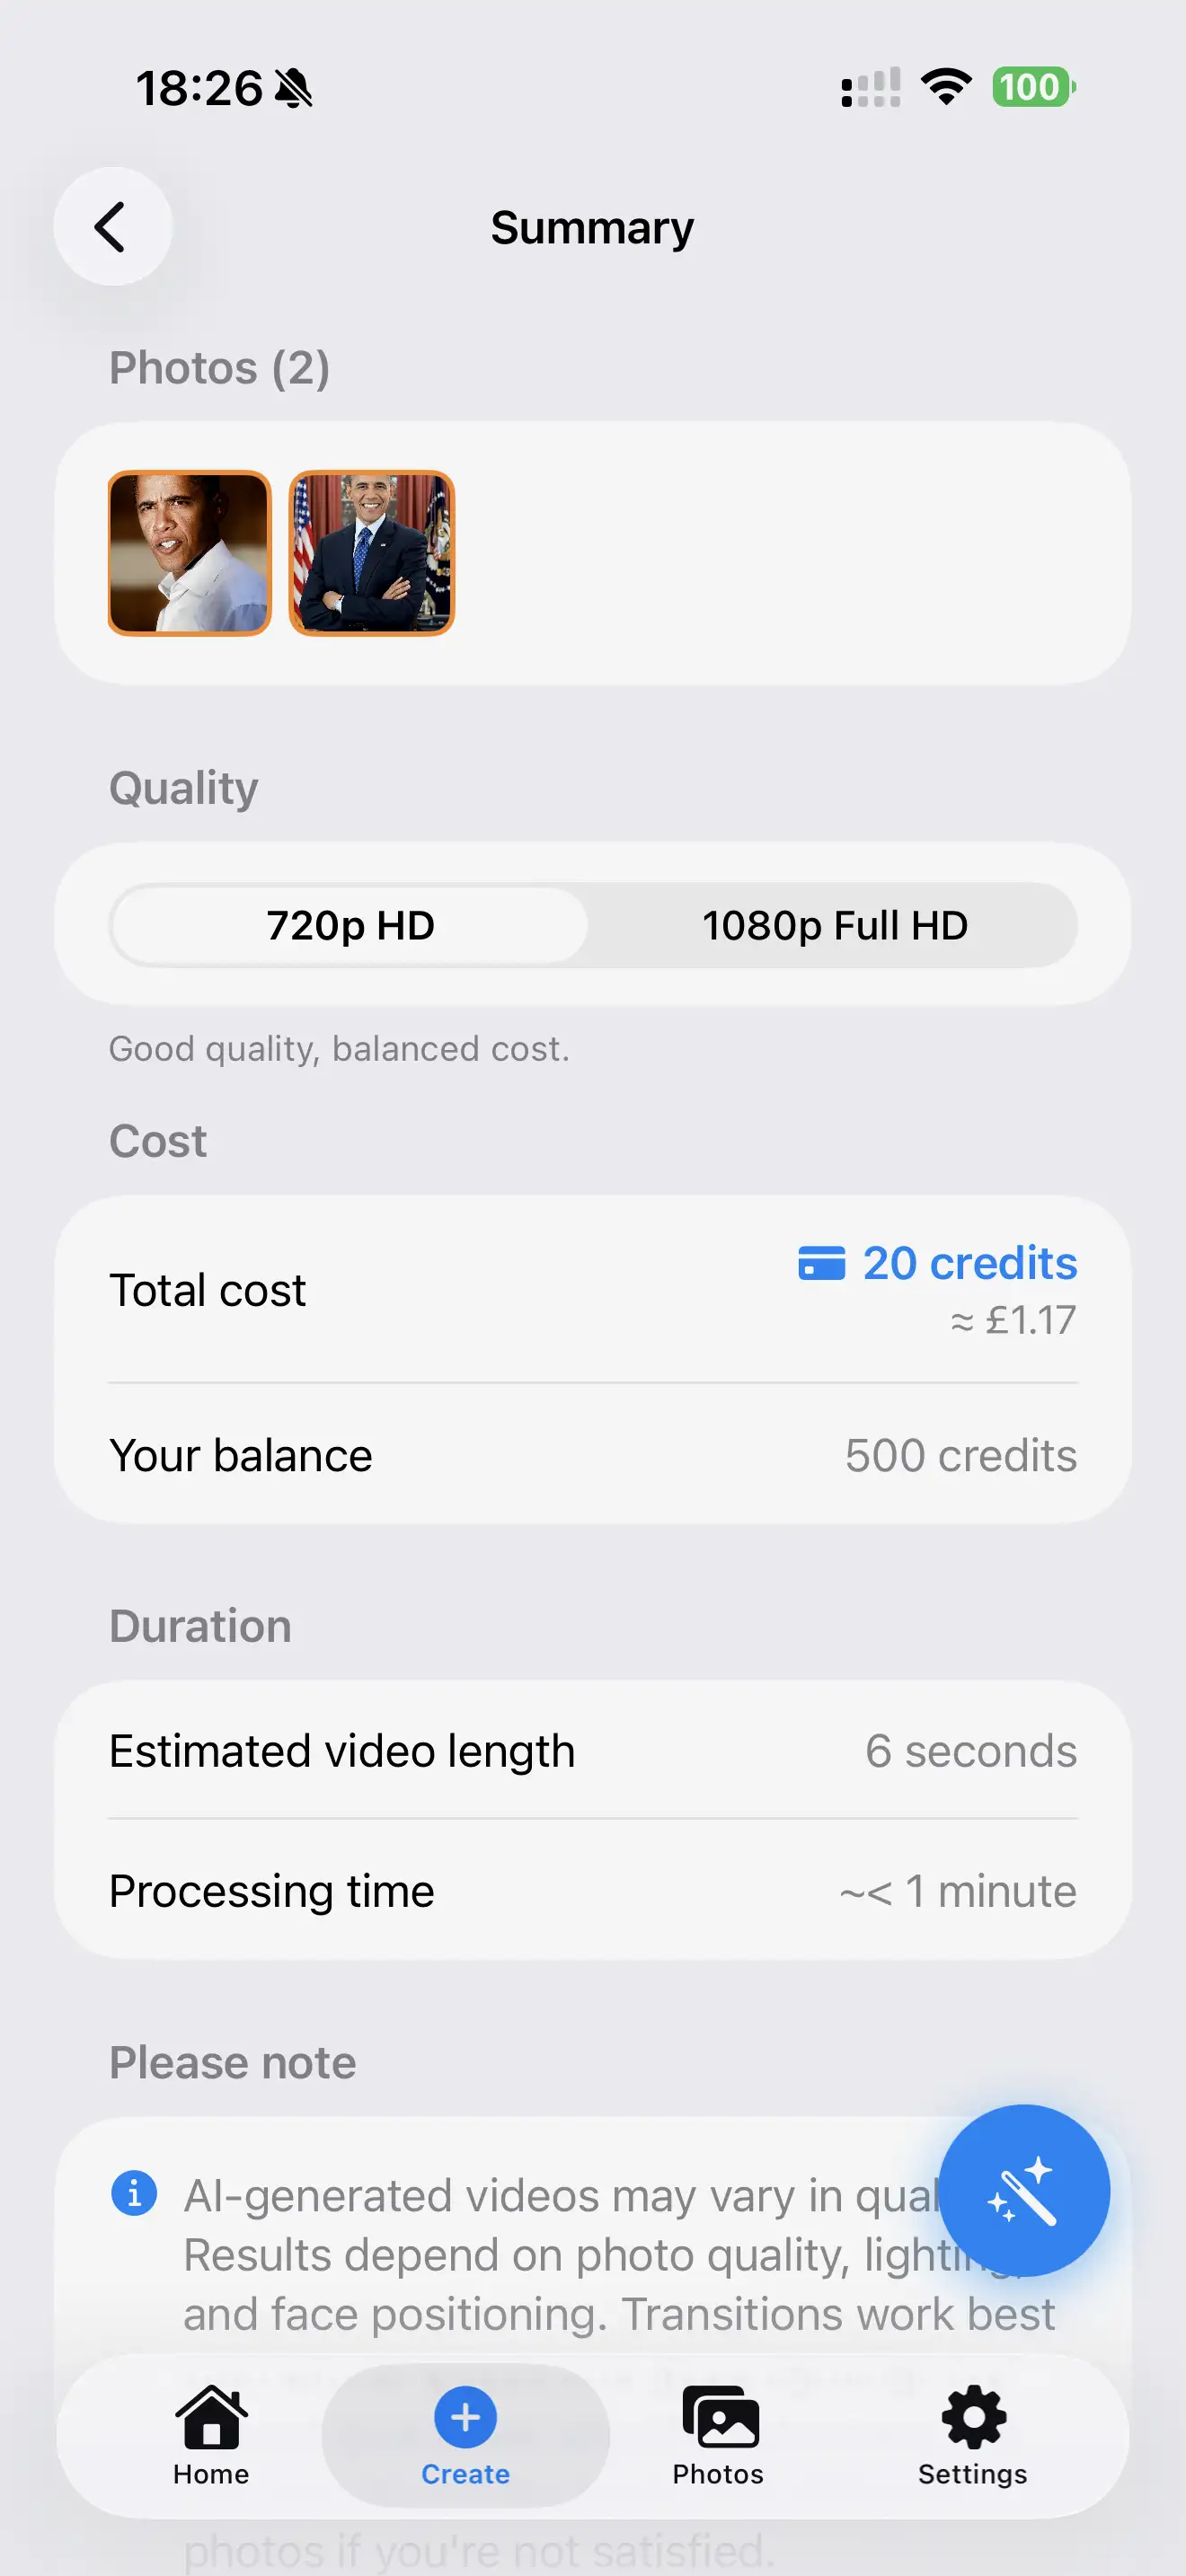
6. Review the finished video
Once the video is generated, watch it back. Ask whether the transition feels natural, whether the subject is clear throughout, whether the photos are in the right order, and whether any image weakens the result.
Sometimes one weaker image can make the video feel less smooth. If that happens, try replacing it with a clearer image or using fewer photos.
7. Download or share the video
Once you are happy with the result, you can save or share the finished video. Then-and-now videos are especially suited to TikTok, Instagram Reels, Instagram Stories, Facebook, YouTube Shorts, WhatsApp family groups, birthday messages, anniversary posts, renovation updates, and personal memory videos.
For social platforms, short and focused usually works best. A then-and-now video does not need to be long. In many cases, a few seconds is enough to create the emotional effect.
Best use case: single-person then-and-now videos
Although Through The Ages can be used for different subjects, single-person timelines are often the strongest use case. A single face gives the video a clear emotional centre. The viewer immediately understands who the story is about.
Good examples include a childhood-to-adult transformation, birthday video, graduation post, parent or grandparent timeline, memorial or tribute video, or personal glow-up video.
For best results, choose photos where the person is looking in a similar direction. A front-facing school photo and a front-facing modern portrait will usually work better than one side-profile image and one group photo cropped from a distance.
Through The Ages version 2.5 also added smarter face-framing checks for single-person videos, with guided fixes if a face may be cropped.1
Other then-and-now video ideas
Single-person videos are often the easiest to get right, but they are not the only option. The Through The Ages website shows example categories including people, groups and families, people and pets, buildings, landscapes, and interiors.2
For a sequence with several dates, read our photo timeline video guide. If your subject is a garden, view, or seasonal scene, use our landscape timeline video guide to plan a consistent camera position.
Families and groups
Use photos of the same family or group across different years. These can work beautifully for anniversaries, reunions, or milestone birthdays. The main challenge is consistency because there are more faces, more poses, and more movement between images.
People and pets
These can be very emotional, especially when showing a pet from puppy or kitten stage through to later life. Try to use photos where both the person and pet are clearly visible.
Buildings
Buildings work well for renovations, restorations, construction, or historical comparisons. Keep the viewpoint as similar as possible so the transformation is easier to follow.
Landscapes
Landscape videos can work well for seasonal changes, gardens, parks, views, or skylines. Look for images with a similar composition so the viewer can easily understand what has changed.
Interiors
Room makeovers are a strong use case because the transformation is easy to understand. Try to take before and after photos from the same corner of the room, at the same height, and facing the same direction.
When should you not use an AI transition?
AI transitions are great when you want movement, emotion, and a sense of time passing. But they are not always the right choice.
If you want a static then-and-now comparison, you may be better off with a simple side-by-side image or a basic before-and-after layout. For example, if you are making a renovation comparison for a case study, a static image may be easier for the viewer to inspect.
Use an AI then-and-now video when you want the transformation to feel alive. Use a static before-and-after when you want the viewer to pause, inspect, and compare.
Common mistakes to avoid
- Using photos with very different angles. If one photo is front-facing and the next is a side profile, the transition may feel less natural.
- Using blurry or low-resolution images. AI can do a lot, but it still needs a clear subject.
- Cropping the face or subject too tightly. If part of the head, face, body, building, or object is missing, the transition may be less smooth.
- Adding too many weak photos. A video with two strong photos is usually better than a video with five inconsistent ones.
- Mixing different subjects. If your first photo focuses on one person and your second photo focuses on a group, the video may feel confusing.
- Expecting a documentary-style reconstruction. AI transitions are creative animations, not a perfectly factual frame-by-frame record of what happened between the photos.
Is it private to make a then-and-now video from personal photos?
Privacy matters, especially when you are uploading photos of yourself, your children, your family, your home, or other personal memories.
Through The Ages has a dedicated privacy policy. The policy says photos that may contain a person's face are collected for the purpose of generating timeline videos and reusing selected photos within the app. It also says the app does not extract, store, or process biometric identifiers such as face geometry or face recognition templates for identification or tracking.3
The privacy policy also says users can delete individual photos at any time from within the app, and that deleting an account permanently deletes associated photos and generated videos from the system.3
Before using any AI photo or video tool, it is worth checking what data is uploaded, how it is used, whether your images are used for advertising or profiling, whether face data is used for identification, and whether you can delete your photos and account.
Why do AI then-and-now videos cost more than a basic slideshow?
A normal slideshow is relatively cheap to create because the app is mostly arranging images, adding transitions, and exporting a video. AI-generated video is different.
When you create an AI transition, a model has to generate new video frames between your photos. That requires specialist AI infrastructure and creates a real generation cost each time a video is made.
Through The Ages uses external AI infrastructure as part of this process. Video generation costs more than a normal slideshow because the model is generating new frames, not just applying a preset transition locally.
That is why AI video apps often use credits. The app is not just applying a preset transition locally; it is paying to generate a new result.
Through The Ages is designed so you can pay for what you need rather than being tied into a subscription. The website currently says you can start free with 10 credits and no purchase required.2
Through The Ages credit packs
As of 20 June 2026, the UK App Store listing shows these in-app credit packs:1
| Credit pack | UK App Store price |
|---|---|
| 50 credits | £5.99 |
| 100 credits | £9.99 |
| 250 credits | £19.99 |
| 600 credits | £34.99 |
How does the cost compare with other AI video tools?
Many broader AI video tools are built around monthly creator plans. That is not necessarily a bad thing. If you make AI videos every week, a subscription might make sense. But not everyone wants a monthly AI video subscription just to make a few personal then-and-now clips.
Through The Ages is focused on a narrower job: turning your photos into smooth timeline videos. For occasional users, buying credits as needed can be a lower-commitment option than signing up for a general AI video subscription.
Public pricing pages can change and may vary by region, currency, billing cadence, and account state. These examples were checked on 20 June 2026:
| Tool | Public pricing style | Example pricing shown publicly | Why it matters |
|---|---|---|---|
| Through The Ages | Free starter credits + optional credit packs | 10 free starter credits; UK App Store credit packs from £5.99 | Useful for people who want to make a few then-and-now videos without a monthly subscription |
| Runway | Monthly plans with credits | Standard plan from $12 per user/month, billed annually4 | Powerful general AI video platform, but based around monthly plans and monthly credits |
| Pika | Subscription plans with monthly video credits | Basic from $8/month billed yearly; Standard from $28/month billed yearly5 | Broader AI video tool with monthly credit allowances |
| Luma | Monthly individual plans | Plus plan shown at $30/month6 | Strong general AI video platform, but higher monthly commitment |
| Magic Hour | Free tier + creator plans | Creator plan shown from $10/month billed annually in docs; pricing page may localize currency7 | Broader creative AI suite with subscription tiers |
The safest way to think about cost is this: a simple fade or slideshow is cheaper because it is simpler. An AI then-and-now video costs more because it generates motion. Through The Ages aims to keep that cost tied to what you actually want to make.
What is the best way to make a then-and-now video?
The best method depends on what you want the final result to feel like.
- If you want a basic comparison, use a side-by-side image or simple slideshow.
- If you want a social media edit with text, music, and manual control, use a video editor.
- If you want a smooth animated transition between old and new photos, use an AI then-and-now video maker like Through The Ages.
For most people making a personal transformation video, the AI approach is the easiest way to get something polished without learning a full video editing app.
Examples
Making a childhood-to-now video
You might choose a baby photo, school photo, teenage photo, and recent portrait. Look for photos where your face is clear and the pose is reasonably similar. Upload them in age order, generate the video, and review the transition.
If one photo does not work well, replace it with another or simplify the video to just two or three stronger images.
Making a renovation then-and-now video
Choose photos such as the original room, the work-in-progress stage, and the finished room. For best results, take the photos from the same position so the change is easier to follow.
Making a pet then-and-now video
Pet videos are often emotional because the change is so visible. You might use a puppy or kitten photo, a young adult photo, and a current photo. Try to choose images where the pet is the main subject.
Frequently asked questions
Can I make a then-and-now video with just two photos?
Yes. Two photos are enough for a classic then-and-now video. One image becomes the then photo and the other becomes the now photo.
Can I use more than two photos?
Yes. Through The Ages works with 2 to 5 images, so you can create a short timeline rather than a simple before-and-after.
What photos work best for an AI then-and-now video?
The best photos usually have a clear subject, similar pose, matching angle, and good image quality. For people, a clear face makes a big difference.
Do the photos have to be professional?
No. Phone photos, old family photos, scanned photos, and casual portraits can all work. The important thing is that the subject is clear.
Is a then-and-now video the same as a slideshow?
Not exactly. A slideshow shows photos one after another. A then-and-now video focuses on change over time. With AI, the transition between the photos can be animated so the change feels smoother and more natural.
Should I use AI or a normal video editor?
Use AI if you want the transition itself to feel animated and alive. Use a normal video editor if you just want a simple fade, cut, text overlay, or static before-and-after.
When should I use a static before-and-after instead?
Use a static before-and-after when you want people to compare details closely. For example, a renovation case study, product comparison, or design proof may work better as a still image.
Can I share the finished video on social media?
Yes. Then-and-now videos are well suited to TikTok, Instagram Reels, YouTube Shorts, Facebook, and messaging apps.
Why does AI video generation cost money?
AI video generation has a real per-generation cost because models generate new video frames. Video generation services may charge by generated duration or by generation, depending on the model.
Do I need a subscription?
Through The Ages is designed around credits rather than forcing every user into a subscription. The website currently says you can start free with 10 credits, and the App Store listing shows optional credit packs.21
Create your first then-and-now video
Start with 2 to 5 clear photos, keep the subject easy to follow, and let Through The Ages turn those moments into a video timeline you can save and share.
Create your then-and-now videoSource notes
- Through The Ages on the UK App Store, checked 20 June 2026.
- Through The Ages homepage, checked 20 June 2026.
- Through The Ages privacy policy, checked 20 June 2026.
- Runway pricing, checked 20 June 2026.
- Pika pricing, checked 20 June 2026.
- Luma pricing, checked 20 June 2026.
- Magic Hour billing documentation and Magic Hour pricing, checked 20 June 2026.